How to Document your Growing Baby Bump

When you first find out you’re pregnant, the day you actually get to meet your baby can feel like a lifetime away. But those 40 (give or take a couple) weeks will fly by! Especially if you’re busy working, nesting, babymooning, and/or just generally preparing for the most major of life changes. Documenting your growing bump can be a wonderful way to slow down, appreciate the magic that your body is making, and take note of the passing weeks as your due date gets closer. Plus you’ll have a super cute photo series when it’s all said and done—the perfect way to remember your pregnancy, and all the feelings that came with it. And a fun way to share the news as well (once you feel comfortable doing so!). You may not be showing yet, but now’s the perfect time to start snapping, cause that will change real quick. Here are a few things to think about before you start your series, but most important: have fun.
Day vs. Month vs. Week
Do you dream of having a having an adorably mind-blowing timelapse video of your pregnancy? Or are you more of a photo-a-week kind of gal? Maybe one snap a month is plenty for you. Whatever route you decide to go, set up a reminder in your cal now, whether it’s for the same time every day, or for the same day every month.
mark the milestone
Simply documenting the growing size of your bump is exciting enough. But if you want to also mark the milestone (e.g. Week 23, Month 7), there are a few different ways to do so. The trusty chalkboard is a reliable go-to: easy to write on and erase, plus it offers a variety of colors if you want to get creative with chalk. For something a bit more black and white, opt for a letterboard—simple and classic. For something in between, grab yourself a little cinema light box, which can come with black or colored letters. (All of these can be used for monthly milestone photos once baby is here too! A cute continuation of your pregnancy series). And of course you can add that info in after the fact, with the help of an editing app post photo sesh.
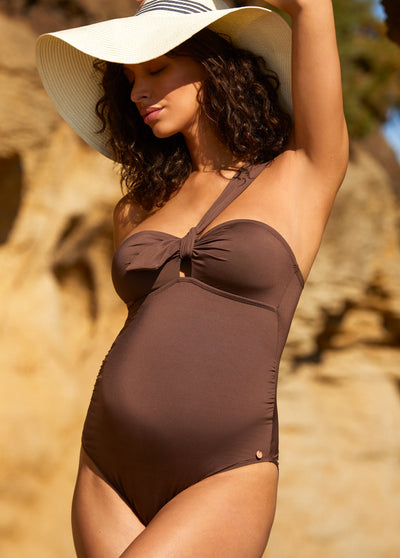
You’re gonna look cute no matter what, but if you want the aesthetic of your series to be cohesive, give some thought to what you plan on wearing. Maybe you want to sport the same outfit throughout, to really accentuate your belly growth. If that’s the case, be sure to choose something with plenty of room to grow. Or keep it simple with a variety of outfits adhering to a single color scheme throughout. Maybe you want to show your bare belly? There are options for that too: pick a sports bra or tank and a pair of leggings, a comfortable bikini, or just pare down to your undies (with a strategically placed arm up top if you want your pics to be Instagram-friendly!).

get creative
You can keep your shots simple and straightforward (creating life is creative enough!), or you can add a bit of extra personality, whether it’s a dramatic flair or some playful cheekiness. If you want to take photos that don’t require being put together, go for the silhouette. All you need is a bright window to stand in front of and a belly to show off (just prop your smartphone, tap the screen on a bright spot of the window you won’t be covering with your body, and hit the self-timer—you can amp up the blown-out look with an editing app afterward). Want to mark the months without adding anything to the photo? Just use your fingers (you know you won’t need more than 10!) for a cute and easy pose. Or add some colorful props: Just about every pregnant mama knows what fruit their baby is comparable to, from a blueberry at week 7 to a watermelon at 40. Bring that produce into your pics by holding the actual fruit for reference—darling and delicious!
Write it out
A photo says a thousand words, but you might want to write some as well. As memorable as it all feels—the cravings, the changes, the eventual baby kicks—the details of your pregnancy journey may fade a bit, especially once you’ve got dirty diapers to track and feeding schedules to stay on top of. Expanding on each photo with a few sentences about what you’re feeling—physically and emotionally—is a sweet way to broaden the documentation of your experience. Write them out on a large chalkboard in the actual photo, add them later with the help of an editing app, or keep your thoughts personal by writing them in a journal—getting it all down in sync with your photo sessions is simply a good way to make sure you keep it up.
explore more
View all